
Frugality is about more than saving money, it’s also practiced by using what you already have at your disposal. Upcycling (or refashioning) my closet is a fun way to get creative and save money. I tend to get sentimental about clothing. As a result, my wardrobe includes a significant amount of items that don’t fit and/or are outdated. One such item was a boring, grey, plain-style sweatshirt. I never, ever wore it. However, when the thought of donating it crossed my mind, I remembered a day at the grocery store when my dad must have thought he was really clever or ironic. I was a senior in high school and he had recently caught me with some beer. So what does he do? He buys me a sweatshirt featuring a beer logo. At first, it was a bit nerve racking to cut up this sweatshirt, but the end result was awesome. I have a new, super-comfy skirt that was absolutely free and am now using the silly gift from dear old dad.
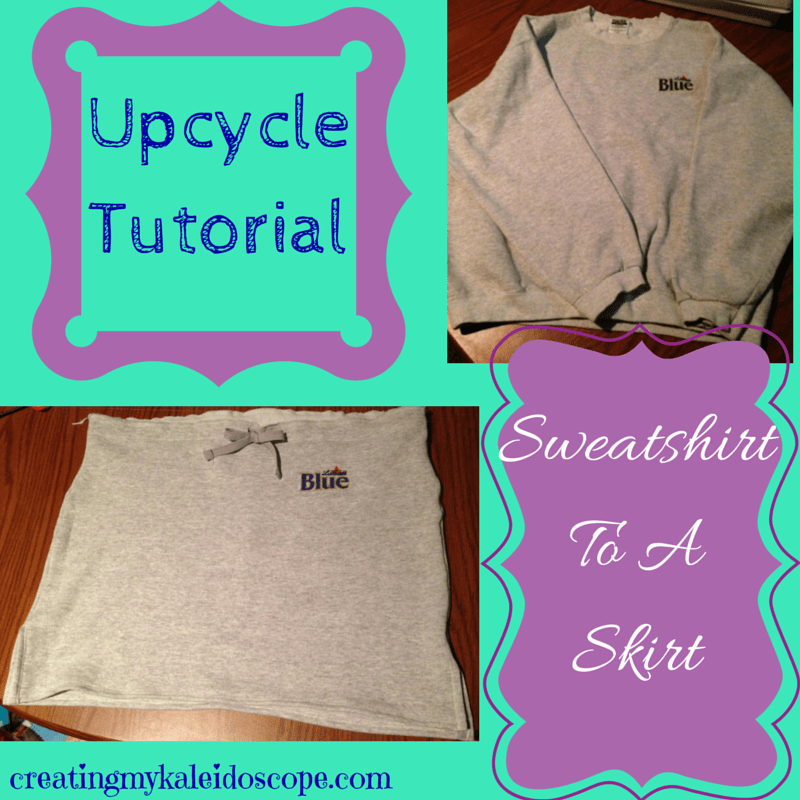
My sewing skills are pretty basic, so the results could be even better if you really knew what you were doing. Still, I am very pleased with how it turned out. Here is the sweatshirt:
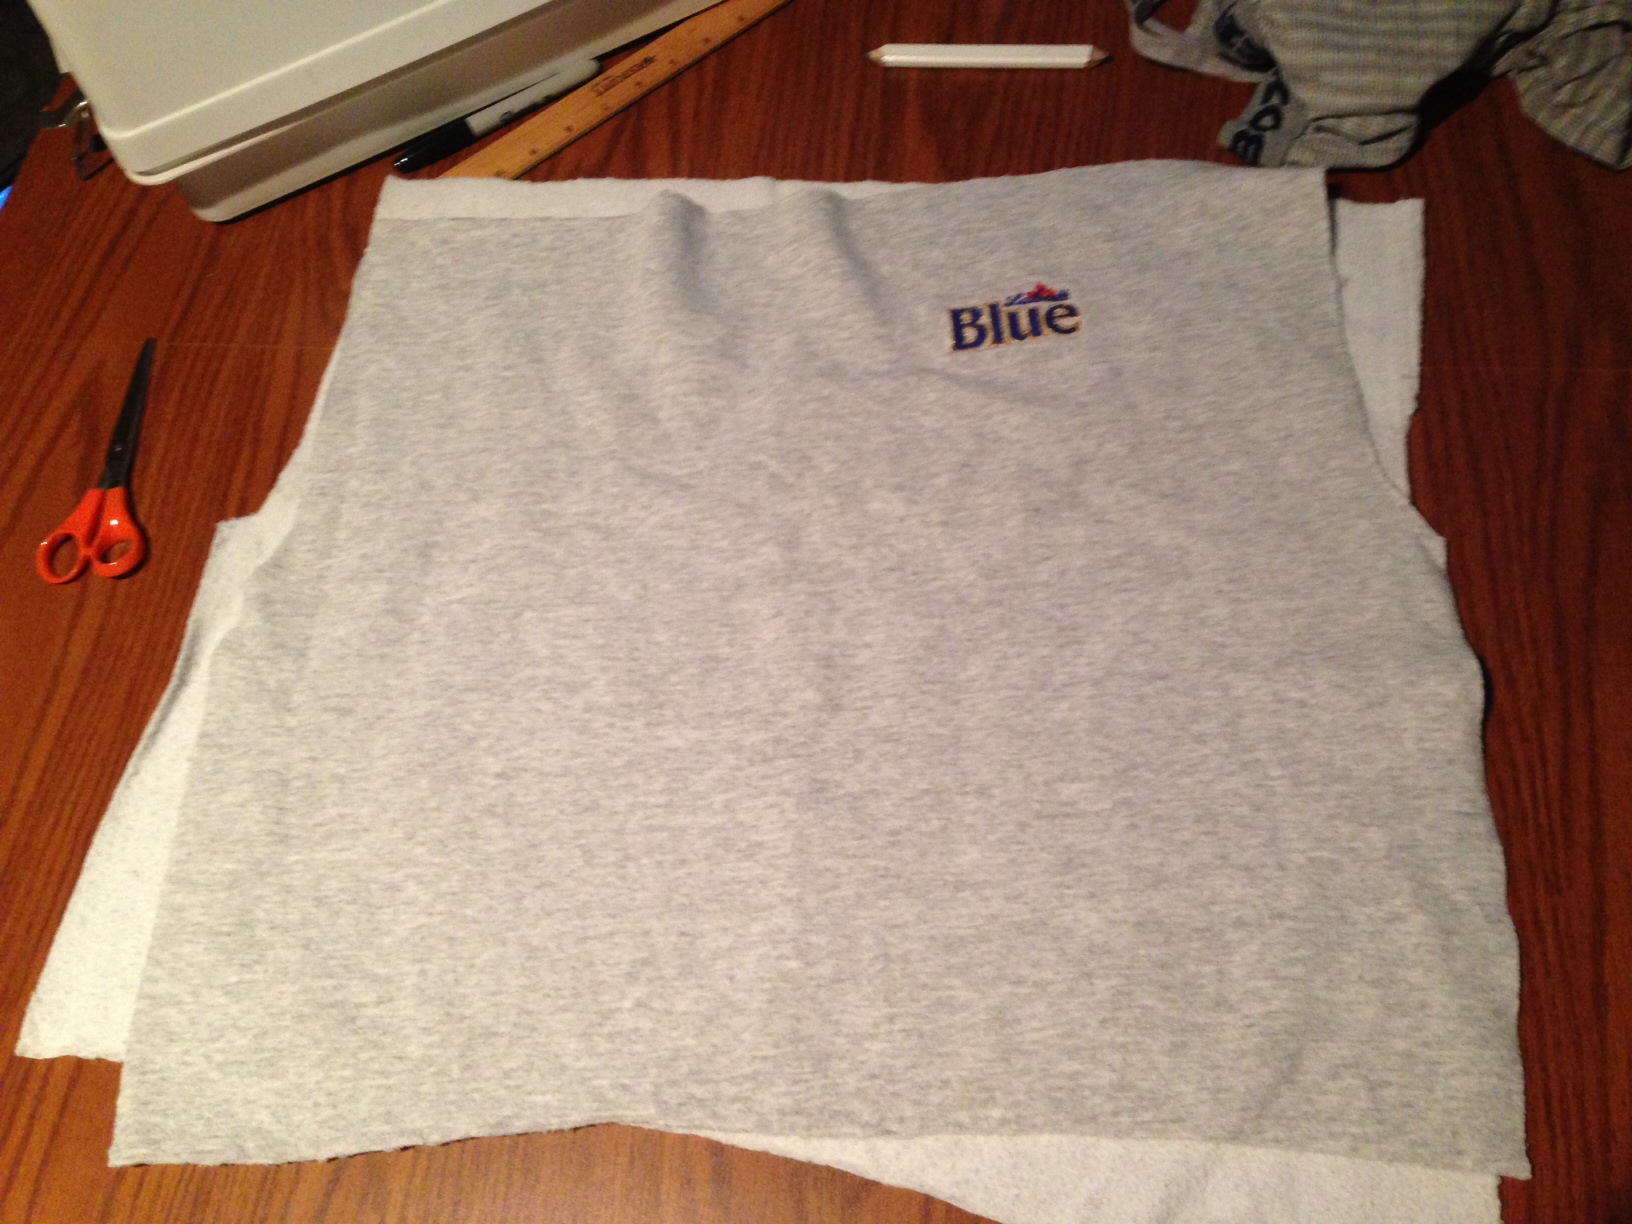
 I started by cutting off the sleeves and straight across the top section to remove the collar. Then, I cut off the band on the bottom. You could leave it on for a more-fitted style on the bottom of the skirt. There are a few tutorials that use this approach, but I thought those skirts still looked too much like a sweatshirt. After these cuts you end up with two rectangular pieces.
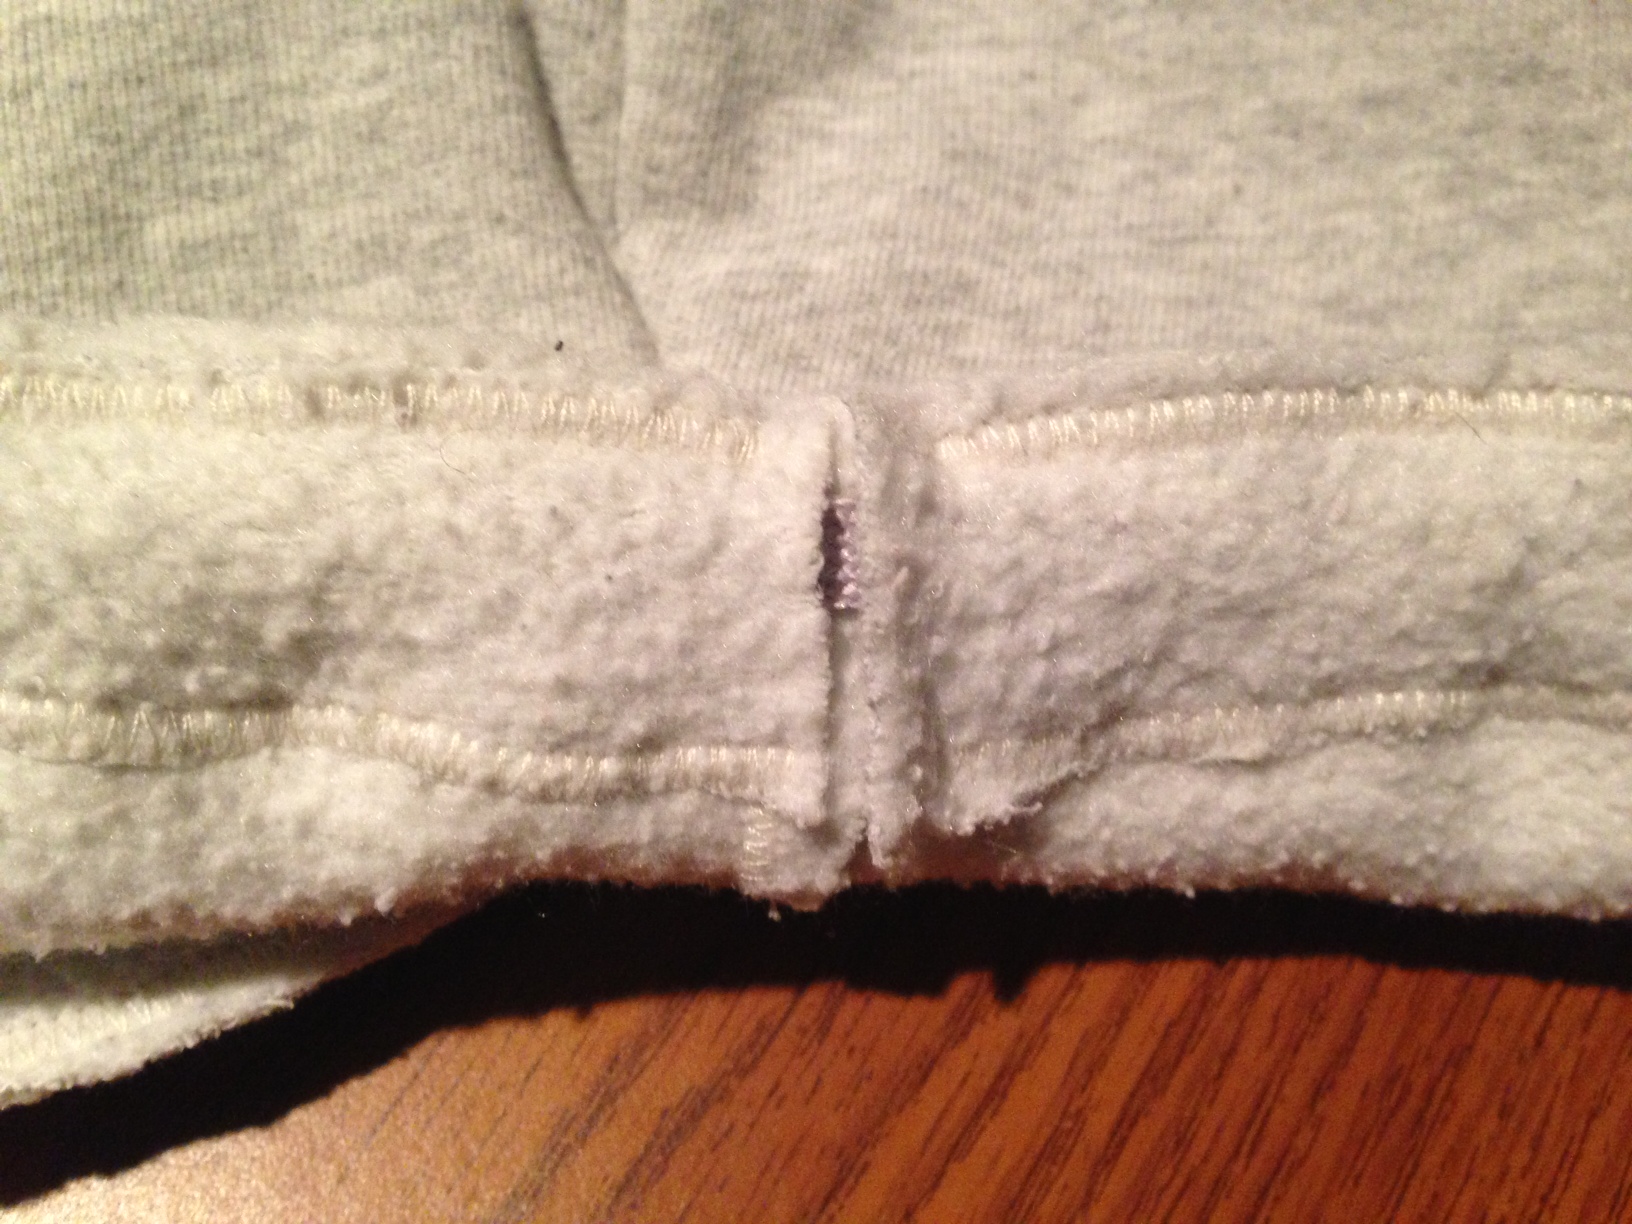
 Flip the pieces so that the outside of the skirt is on the inside. Pin and stitch the sides together. If you want little slits on the bottom of the side seams, don’t sew all the way down, leave a couple of inches open.

I used an extra shoelace for a drawstring. I could have folded over the top of the skirt and sewed one horizontal seam to hold the string. But I wanted to keep the logo from getting too close to the waist. So I cut some strips of fabric off of the bottom and sewed them to the top of the inside of the skirt. Then, you cut two small slits on the front of this little pocket, in the center of the skirt, and feed through the shoelace.
 The next step is to sew seams on the bottom of the skirt. I sewed the front first and then tried it on to see where I wanted the seam on the back. The back piece ended up being a little bit longer to account for the booty. Finally fold the sides of the slits over and sew them down.

I am really inspired to start hacking away at all of the other clothes that are just taking up space in my closet. Who knows what I’ll come up with next?


Cute idea! Thanks for sharing on MeetUp Monday
Love this idea as a way to make a memory usable! Thanks for linking up with #BeyondMommyinSiS
Melissa Roy recently posted…When Just Being a Mom is Enough